

Your property is an intricate system of interconnected parts, but none play quite as vital a role as the barrier standing between your interior spaces and the open sky. The roof is the ultimate first line of defense. It tirelessly bears the brunt of scorching summer heat, freezing winter precipitation, high-velocity winds, and the constant barrage of ultraviolet radiation. Despite its monumental importance, it is often the most neglected component of a property until an obvious failure occurs. By the time water is dripping onto your living room floor or staining office ceiling tiles, the structural damage behind the walls has likely already begun, bringing with it the threat of rotting wood, compromised electrical systems, and hazardous mold growth.
The high cost of this neglect cannot be overstated. A proactive approach to maintenance is not merely about preserving aesthetics; it is a financial strategy designed to protect the foundation, the walls, and the valuable assets housed within. Ignoring minor vulnerabilities inevitably leads to catastrophic structural decay, forcing property owners to spend thousands of dollars on premature overhauls that could have been delayed by years, if not decades, with proper care.
The purpose of this guide is to shift your perspective from reactive panic to proactive management. In the following sections, you will learn a comprehensive, step-by-step methodology for inspecting, cleaning, maintaining, and eventually upgrading your overhead systems. By adopting these smart strategies, you will maximize the lifespan of your materials, improve your property’s energy efficiency, and secure an incredible return on investment.
Conduct Thorough Bi-Annual Visual Inspections

The foundation of any successful property maintenance strategy is observation. Homeowners and property managers should commit to conducting a thorough visual inspection twice a year, ideally during the transitional seasons of spring and fall. These bi-annual checks are designed to evaluate how well the structure survived the extremes of the previous season and to prepare it for the weather challenges ahead.
To execute a proper inspection, start with the drainage systems. Clogged gutters and downspouts are among the leading causes of preventable water damage. When leaves, twigs, and sediment block the flow of water, it backs up and pools. Eventually, this standing water is pushed upward under the roof deck, soaking the wooden fascia boards and the soffit.
-
Clean and Clear: Put on heavy-duty gloves, safely position your ladder, and manually remove decaying organic matter from the gutters.
-
Flush the System: Once the bulk of the debris is gone, use a garden hose to flush the remaining dirt. Watch the downspouts closely; the water should exit freely. If it trickles, you have a blockage in the vertical pipe that must be cleared with a plumber’s snake or high-pressure nozzle.
-
Check the Alignment: Ensure the gutters are still pitched slightly toward the downspouts. Standing water in a clean gutter indicates a sagging channel that needs to be re-secured.
Next, you must assess the situation from the inside. Grab a powerful flashlight and venture into the attic during daylight hours. Turn off the lights and look for any tiny pinpricks of sunlight piercing through the wooden decking; where light can enter, water can enter. Furthermore, pay close attention to the temperature and the smell. If the attic feels like a sauna or smells like mildew, you have a critical ventilation issue. Poor ventilation traps heat and moisture, which essentially bakes the materials from the inside out, causing early degradation of the decking and underlayment.
Back outside, carefully assess the surface materials from the ground or a sturdy ladder. If you have an asphalt system, look inside your gutters for an accumulation of tiny, sand-like granules. Excessive granule loss exposes the underlying asphalt to the sun, accelerating its breakdown. If you notice your surface is aging but still structurally sound, you might research the application of shingle roof coatings. These specialized layers can be strategically applied to extend the life of an aging surface, block harmful UV rays, and significantly improve the material’s water resistance for a few extra years.
Finally, document your findings meticulously. Use a digital camera with a good zoom lens or even a consumer drone to take high-resolution pictures of suspected damage rather than attempting to walk on steep pitches yourself. Walking on high inclines without proper training can cause further damage to the materials and poses a severe physical risk. When you identify areas of concern that require closer physical evaluation, it is always safer and more economical to hand your inspection notes over to local roofers. These professionals have the specialized safety harnesses, footwear, and experience necessary to navigate steep surfaces without risking their lives or your property.
Address Minor Wear and Tear Immediately
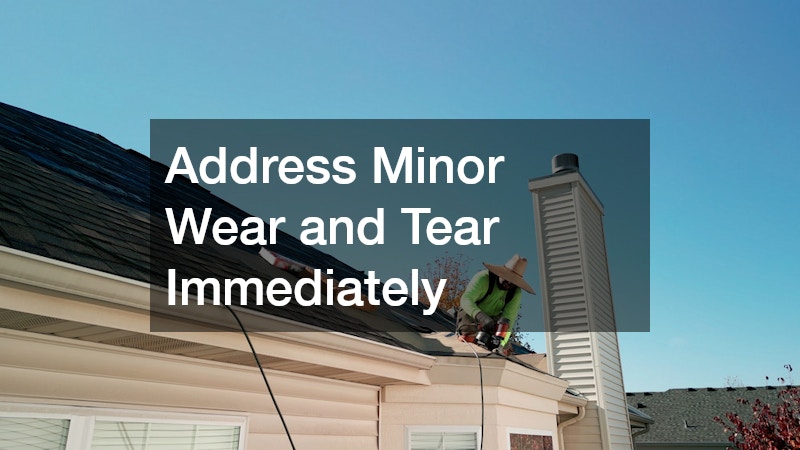
When a bi-annual inspection reveals minor wear and tear, the clock begins ticking. Actionable, immediate steps must be taken to address small vulnerabilities before they evolve into active leaks. The key to cost-effective management is realizing that small problems never remain small when exposed to the elements.
One of the most critical areas to evaluate and immediately address is the flashing. Flashing consists of thin pieces of impermeable material, usually galvanized steel or aluminum, installed to prevent water passage into a structure from a joint or an angle. It is typically found around chimneys, vent pipes, skylights, and in the valleys where two slopes meet.
-
Inspect the Seals: Look for flashing that has rusted, lifted, or separated from the main structure.
-
Re-caulk Carefully: If the metal is intact but the sealant has dried and cracked, gently scrape away the old caulking and apply a fresh bead of high-grade, exterior polyurethane sealant.
-
Secure Loose Metal: If a piece of step flashing has pulled away from a chimney, it must be properly nailed back into place and resealed immediately to prevent water from running down the masonry into your living space.
Another crucial step before winter arrives is replacing cracked, broken, or severely curled shingles. Understanding the mechanics of wind uplift highlights why this is so important. When a shingle curls at the edges, it acts like a sail. High winds catch that curled edge, pulling it backward and eventually snapping it off entirely. A single missing shingle creates a direct pathway for water to reach the vulnerable underlayment. If left exposed through a season of rain or snow, that single missing piece will inevitably lead to rot in the wooden decking below.
If you are already noticing a small water stain spreading across your bedroom ceiling, you must assess the leak rapidly. Tracing a water stain back to its origin point can be tricky because water rarely drips straight down; it usually travels along rafters and pipes before dropping onto the ceiling. You must get into the attic and trace the moisture path upwards. Executing a prompt local roof repair on a minor drip is one of the smartest financial moves a property owner can make. Fixing a small patch on the surface might cost a few hundred dollars, but ignoring it will eventually cost thousands in drywall replacement, framing restoration, and mold remediation.
While it might be tempting to hire a cheap, general handyman to patch a small section, it is highly advised to partner with trusted professionals for even routine fixes. Structural barrier work requires a deep understanding of how water flows and how different materials interact. You should take the time to vet established residential roofing companies in your area. Look for organizations that can provide workmanship guarantees on their patching jobs, ensuring that the small fix holds up just as well as the rest of the surrounding structure.
Navigate Severe Weather and Post-Storm Protocols
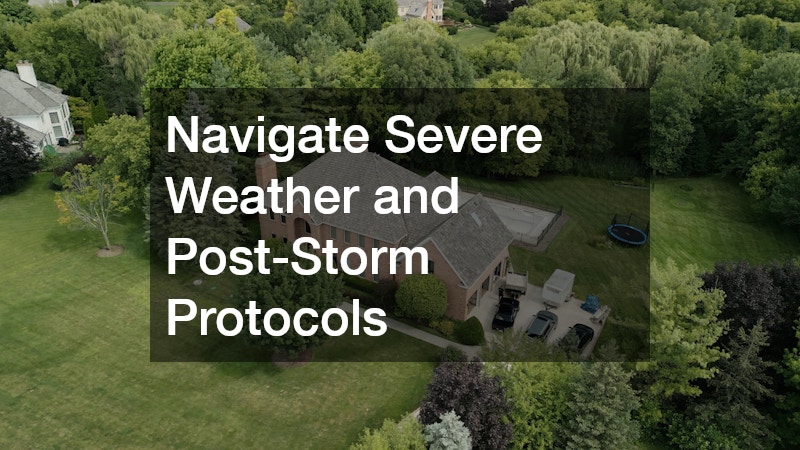
Even the most meticulously maintained property can fall victim to the chaotic fury of severe weather. High winds, massive hail, and heavy snowfall can cause sudden, catastrophic damage. Having a rigid, procedural response plan in place for the moments immediately following a storm is essential to mitigating further loss.
Your primary objective immediately following structural damage is to stop water from entering the building. If a heavy tree limb snaps during a gale and punctures your decking, water will pour into the home, destroying insulation, drywall, and flooring in minutes.
-
Assess Safety First: Never attempt to climb onto your property while a storm is still raging or if lightning is present. Wait until the immediate danger has passed.
-
Deploy a Tarp: If it is safe to do so, secure a heavy-duty waterproof tarp over the damaged area. This can sometimes be done from the interior attic by tacking plastic sheeting over the exposed hole, or from the outside if you can safely reach the area from a ladder.
-
Secure the Perimeter: Use wooden furring strips and nails to secure the edges of the tarp so the wind does not blow it away.
-
Call for Backup: Understand that a tarp is a highly temporary measure. Once the water ingress is paused, you must immediately arrange for a local emergency roof repair to permanently restore the structural integrity of the barrier.
Once the property is temporarily secured, your next step is to document the surface damage from the ground for your insurance claim. Insurance adjusters require clear, timestamped evidence to process claims efficiently.
Create a documentation checklist: snap wide-angle shots of the entire property from all four sides, zoom in on impact craters from hail or missing sections of material, and catalog any fallen debris, such as branches or displaced metal. Keep an organized digital folder of these photos, alongside the date and time of the storm event.
After documenting the obvious damage, you must schedule a comprehensive post-storm structural evaluation. It is a common misconception that if a roof looks fine from the driveway after a hail storm, it survived unscathed. Hail damage is notoriously difficult for the untrained eye to spot. Large hailstones can strike an asphalt surface and bruise the fiberglass matting beneath the granules without tearing the surface. Over the next year, that bruised area will degrade rapidly, leading to a massive, unexpected leak.
Because of the hidden nature of storm impact, it is crucial to bring in certified roofing specialists. These highly trained experts know exactly what physical markers to look for to identify deep, invisible hail and wind damage. Furthermore, they can compile detailed, professional reports that are invaluable when advocating on your behalf during a contentious insurance claims process.
Manage the Unique Maintenance Demands of Business Properties

While residential structures typically utilize steep-sloped systems to shed water quickly, commercial properties often feature flat or low-slope designs. These architectural differences create an entirely unique set of maintenance demands for business owners and property managers. The primary enemy of a flat system is not wind uplift, but rather gravity and standing water.
The most critical maintenance task for a flat surface is clearing debris from the drains to prevent ponding. “Ponding water” is defined as any water that remains on a flat membrane, such as TPO or EPDM, for more than 48 hours after precipitation has stopped.
-
Clear the Scuppers: Scuppers are the openings in the parapet walls that allow water to drain off the side of the building. These easily become choked with leaves and trash.
-
Check Internal Drains: Many large buildings have drains located in the center of the surface that run through the interior of the building. The protective domes over these drains must be kept entirely free of debris.
-
Sweep the Surface: Debris accumulation can dam up water flow, creating artificial ponds. Regular sweeping prevents dirt and grime from degrading the synthetic rubber or plastic membranes.
Another unique challenge for commercial buildings is the presence of roof-mounted HVAC equipment. Heating and cooling units are massive, vibrating machines that require frequent servicing by mechanical technicians. Heavy foot traffic from mechanics carrying toolboxes, combined with the constant vibration of the heavy machinery, can easily tear or loosen the protective membranes wrapped around the HVAC curbs. Property managers must inspect these seals frequently for breaches. It is highly recommended to install heavy-duty, protective walkway pads leading from the access hatch to the HVAC units to shield the primary membrane from boots and dropped tools.
Because commercial maintenance is so specialized and the surface area is often immense, establishing a preventative maintenance contract is a wise financial decision. Rather than relying on internal staff who may not know what to look for, setting up an annual or bi-annual service agreement with commercial roofing contractors ensures the job is done correctly. These professionals will visit the property on a set schedule, handle routine sealing, clean the drains, and provide a detailed condition report, allowing you to budget for repairs predictably rather than dealing with surprise emergencies.
Furthermore, building a relationship with a reliable regional partner before a disaster strikes is essential. Property managers should never wait until there is an active leak pouring over a tenant’s expensive computer equipment to start frantically searching for a contractor. You need the peace of mind that comes from having a dedicated local roofing company on speed dial—a team that already has your building’s blueprints on file, understands the specific architectural layout, and knows exactly how to access the property safely and quickly in a crisis.
Know When to Stop Patching and Start Upgrading

Every property owner eventually faces a difficult crossroad: deciding whether to continue spending money on patching an aging system or to bite the bullet and invest in a complete replacement. Making this decision requires a careful calculation of the tipping point between temporary maintenance and long-term capital investment.
The first step in this calculation is tracking your materials’ expected lifespan and understanding your warranty limits. Different materials degrade at vastly different rates.
-
3-Tab Asphalt: Typically lasts 15 to 20 years before the granules wash away and the edges curl.
-
Architectural Asphalt: Thicker and more durable, often lasting 25 to 30 years.
-
Metal (Standing Seam): Highly resilient, capable of lasting 50 to 70 years with minimal maintenance.
-
Slate or Tile: Can easily last over a century, though the underlayment will need replacement sooner.
Locate your original installation paperwork to check your warranty status. If you are approaching the final years of the expected lifespan and issues are becoming frequent, it is a strong indicator that patching is no longer financially viable.
Next, you must calculate the true cost of endless patching versus a system overhaul. Industry professionals often refer to the “Rule of 25%.” If the cost of an upcoming repair exceeds 25% of the total cost of a brand new system, or if more than 25% of the total surface area is actively failing, it is time to upgrade. Pouring thousands of dollars into a decaying structure is a poor investment, as the surrounding old materials will simply fail next. Investing in modern roof replacements, while a larger upfront cost, halts the endless stream of repair bills, instantly boosts the resale value of the property, and can dramatically lower monthly heating and cooling bills due to improved insulation and ventilation technologies.
When the time comes for the next phase of your property’s life, you have the opportunity to choose highly durable, energy-efficient materials. Modern engineering has provided options like “cool roofs” that reflect solar heat, and Class 4 impact-resistant architectural shingles designed to withstand massive hail strikes. Do not simply choose the cheapest bid for the job. Interview multiple providers to ensure you secure top-tier roof installation services. A high-quality installation prioritizes the things you cannot see from the street, such as laying down premium synthetic underlayment, applying heavy-duty ice and water shields at the eaves and valleys, and properly calculating the intake and exhaust requirements for optimal ridge ventilation.
Conclusion
Maintaining a property’s overhead structural barrier is an active, ongoing responsibility, not a passive one. It is easy to take the shelter above your head for granted when the sun is shining, but as outlined in the strategies above, the secret to long-term property health is vigilance. Gutters that flow freely, attic spaces that breathe properly, and the willingness to execute prompt minor fixes are the true pillars of structural longevity.
The cost-benefit reality of property ownership is stark but simple: every single dollar spent on routine visual inspections and minor maintenance saves exponential amounts of money on structural interior damage down the line. A proactive mindset transforms an unpredictable, terrifying expense into a manageable, predictable part of property management.
Do not wait for the next severe storm or the first sign of a water stain on your ceiling to start caring for your property. Pull out your calendar right now and schedule your next bi-annual inspection. If you do not have the time, the equipment, or the physical ability to safely perform the inspection yourself, call a trusted professional today to establish an accurate baseline of your structure’s current health. Taking action today ensures that your property remains safe, secure, and valuable for decades to come.