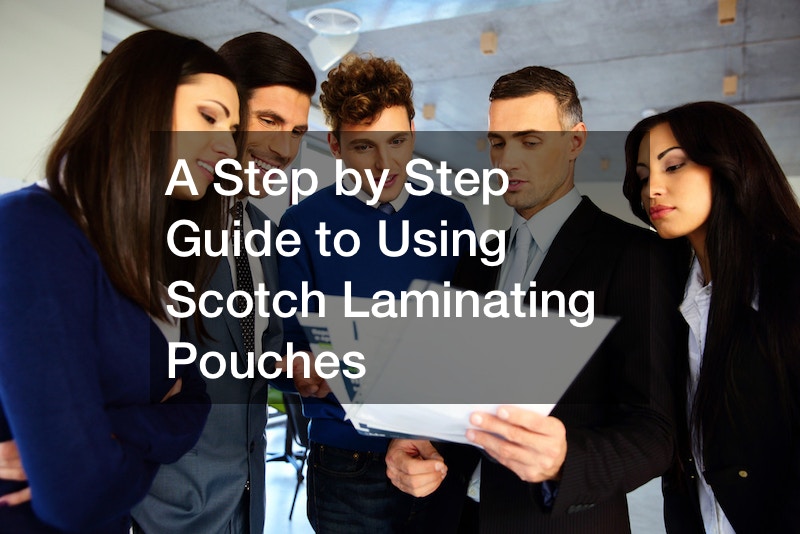
In the video, the narrator provides a step-by-step guide on how to use Scotch self-seal laminating pouches. She says there are no other online instructions for this process and aims to remedy this with her own video.
You will need a ruler. However, the narrator uses a flat piece of cardboard so that should suffice as well.
Open the pouch and flatten the edge where the yellow strip is located. As you do so, try to avoid getting fingerprints on the plastic pouch, as it can affect the quality of your image.
Take the print that you want to laminate, and lay it down on the plastic cover, facing downward. On the yellow strip, you will notice a mark on the top and one on the bottom. That is where you will center your picture. After doing so, remove the yellow strip and press down along this area.
The next step is to remove the paper that is on the back side of the pouch. There is adhesive underneath it. You should use a ruler or piece of cardboard to do this, as it will prevent air bubbles from getting in. You now have a great guide for using a Scotch self-seal laminating pouch.
.