

Key Takeaways
- Water intrusion from above is one of the most common and expensive home insurance claims, with average payouts exceeding $15,000.
- Containing interior water flow with buckets, tarps, and a strategically poked drainage hole prevents ceiling collapse and limits damage.
- Shutting off electricity to affected rooms and moving valuables are the first safety moves before any repair attempt.
- Temporary patches like roofing cement, peel-and-stick membrane, or heavy-duty tarps can hold a trouble spot for weeks until a pro arrives.
- Finding the actual source of water intrusion often requires looking several feet uphill from where the drip appears inside.
- Routine inspections dramatically extend shingle life and catch minor issues long before they become structural emergencies.
- Documenting damage with photos and video the moment it happens makes insurance claims faster and more successful.
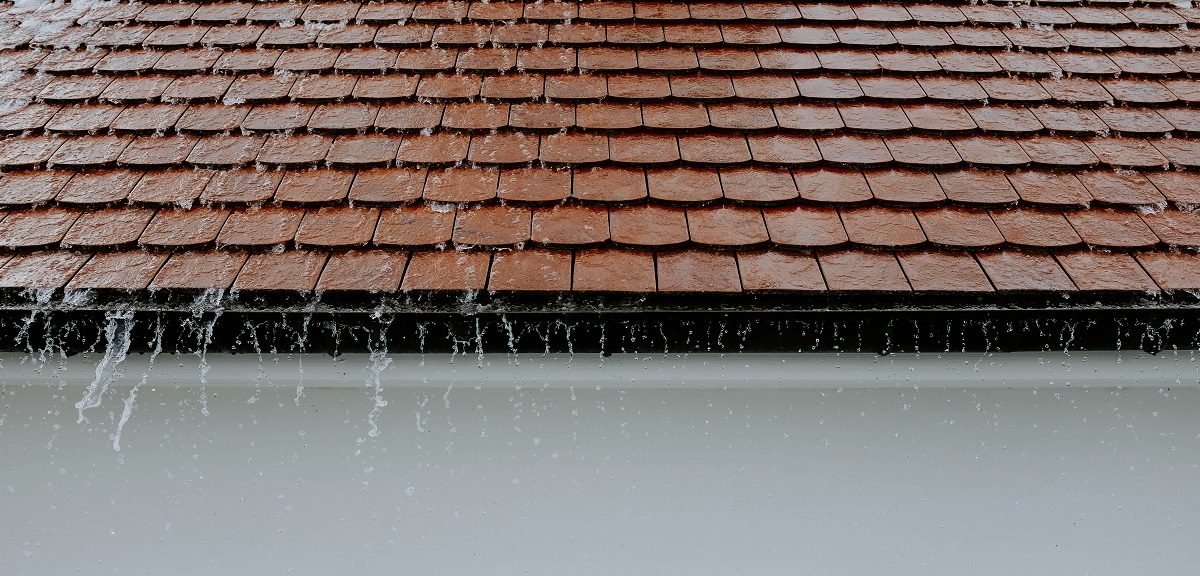
That brown stain on your ceiling. The steady drip-drip-drip into a saucepan at 2 a.m. The faint musty smell after a storm. Few home problems trigger panic quite like water sneaking in from above, and for good reason. Water doesn’t just stain drywall; it rots framing, shorts out wiring, feeds mold, and quietly destroys insulation while you’re busy with everything else in life.
The scary part is how common and costly these incidents are. According to This Old House, water damage and freezing accounted for roughly 22.6% of homeowners insurance claims between 2019 and 2023, with the average claim topping $15,000. That’s not a worst-case scenario. That’s the average.
The good news? You don’t need to be a contractor to limit the fallout. With a calm head, a few basic supplies, and the right order of operations, you can protect your home in the critical hours between discovery and professional repair. Here’s how to handle each problem as it comes.
Problem One: Water Is Actively Dripping Inside Your Home
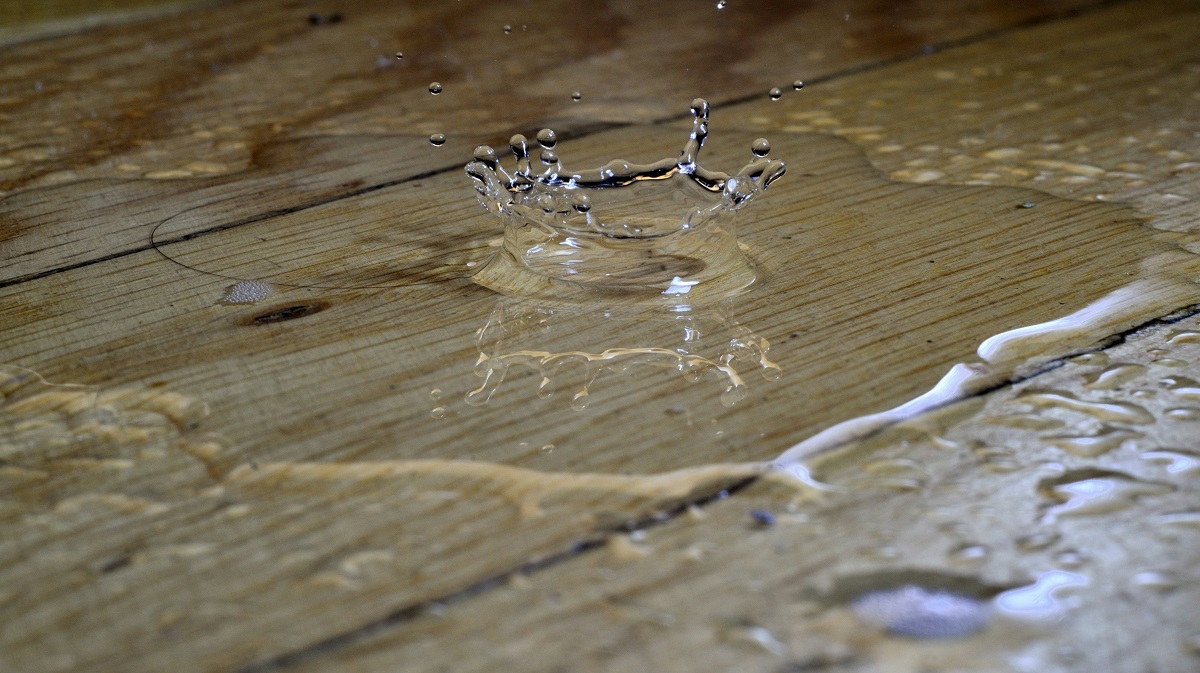
The first battle is simply stopping the water from spreading. A single ceiling drip can soak into carpet pads, warp hardwood floors beyond repair, and ruin upholstered furniture within a matter of hours. Mold spores can start colonizing damp drywall and padding in as little as 24 to 48 hours, so time really is the enemy here. Grab the biggest bucket or storage bin you have and place it directly under the drip. Lay old towels around the base to catch splashes, and if the drip is falling from a tall ceiling, drop a brick or heavy object into the bucket to keep it from tipping — a falling bucket of dirty roof water is its own disaster.
If you have multiple drips in the same room, don’t try to make one container catch two different streams. Water travels along ceiling joists and insulation before finding its exit point, so what looks like one roof leak upstairs might surface as three drips downstairs. Give each drip its own dedicated bucket, and check them every 20 to 30 minutes — a bin that was half full at midnight can be overflowing by 2 a.m. during a steady storm.
If your ceiling is bulging or sagging, that bulge is a water balloon waiting to burst. Counterintuitive as it sounds, you want to poke a small hole in the lowest point of the bulge with a screwdriver or awl and let it drain into your bucket in a controlled stream. A clean, deliberate puncture is far better than drywall exploding across your living room at 3 a.m., sending wet gypsum, insulation, and dirty attic water across your couch, TV, and anyone sleeping nearby. Stand to the side as you puncture — not directly underneath — because the initial gush can be surprisingly forceful.
Safety matters just as much as damage control in these first few minutes. Water and electricity are a lethal combination, so if a drip is anywhere near a ceiling light, outlet, or electrical fixture, kill power to that circuit at the breaker before you do anything else. If water is pooling on the floor near plugged-in electronics, unplug them from a dry spot or shut off the breaker first. When in doubt, assume the water is energized and stay out of it.
Here’s a quick triage checklist for the first ten minutes:
- Move furniture, electronics, and rugs out of the drip zone
- Flip off the breaker for any light fixture near the water
- Place buckets, pots, or storage bins under every active drip
- Poke a drainage hole in bulging ceilings before they rupture
- Snap photos and short videos of everything for your insurance file
- Lay down towels or plastic sheeting to protect flooring
- Set a timer to check and empty buckets every 20 to 30 minutes
- Note the time the leak started and roughly how fast it’s dripping
Problem Two: You Have No Idea Where the Water Is Coming From
Here’s the frustrating truth. Water almost never enters your attic directly above where it drips into your living room. It runs along rafters, slides down the underside of the roof deck, and pools wherever gravity decides. Finding the real entry point takes some detective work.
Head into the attic with a strong flashlight during daylight if possible. Look uphill from the interior drip and scan for wet insulation, stained wood, or actual sunlight poking through. A roof leak often originates near penetrations like vents, chimneys, skylights, or where two roof planes meet in a valley. Flashing failures around these spots are the usual suspects, not the shingles themselves.
How to Trace a Mystery Drip
If you can’t find the source visually, try a two-person garden hose test on a dry day. One person sprays small sections of the roof while the other watches inside with a flashlight. Work in zones, starting low and moving up, because water always travels downward. Give each zone several minutes before moving on. This slow, methodical approach beats guessing every time.
Problem Three: The Storm Isn’t Over and You Need a Temporary Patch
Knowing what to do when your roof is leaking during an active storm is really about buying time safely. Do not climb onto a wet roof during wind, lightning, or heavy rain. Period. If the weather is calm enough to work and you feel confident on a ladder, a tarp is your best friend. You’ll want a heavy-duty poly tarp at least four feet larger than the damaged area on all sides.
Secure the tarp by wrapping one edge around a two-by-four and nailing or screwing the board into the roof above the damaged section. Run the tarp down past the eave and anchor the bottom edge with another board. The goal is to force water to run over the tarp rather than under it.
Keep these temporary fix materials on hand before you ever need them:
- A 20×30 foot heavy-duty poly tarp
- Several eight-foot two-by-fours
- Roofing nails or exterior screws
- A tube or two of roofing cement for small punctures
- Self-adhesive peel-and-stick flashing membrane
- A sturdy extension ladder with stabilizer
When to Call Instead of Climb
If the pitch is steep, the roof is more than one story, or you’re uneasy about heights, stop. Call a roofer who offers emergency tarping. The cost of a service call is nothing compared to a fall. Most insurance policies will reimburse emergency mitigation work, so keep those receipts.
Problem Four: Small Holes, Cracked Shingles, and Lifted Flashing
Once the weather clears, you can tackle minor damage yourself. For a cracked or missing shingle, slide a flat pry bar under the shingle above the damaged one, pop the sealant strip, and remove the old nails. Slide the new shingle in, nail it down, and reseal with a dab of roofing cement.
For small punctures or nail-pop holes, a generous application of roofing cement topped with a patch of peel-and-stick membrane will hold for months, sometimes years. Lifted flashing around a chimney or vent pipe can usually be re-bedded with cement and new fasteners.
That said, DIY patches are temporary by nature. They solve the immediate problem but don’t address underlying issues like aging underlayment or compromised decking. Thinking about complete roofing system care is what separates homeowners who keep paying for the same repair from those who actually solve the problem for good.
Problem Five: Preventing the Next Leak Before It Starts
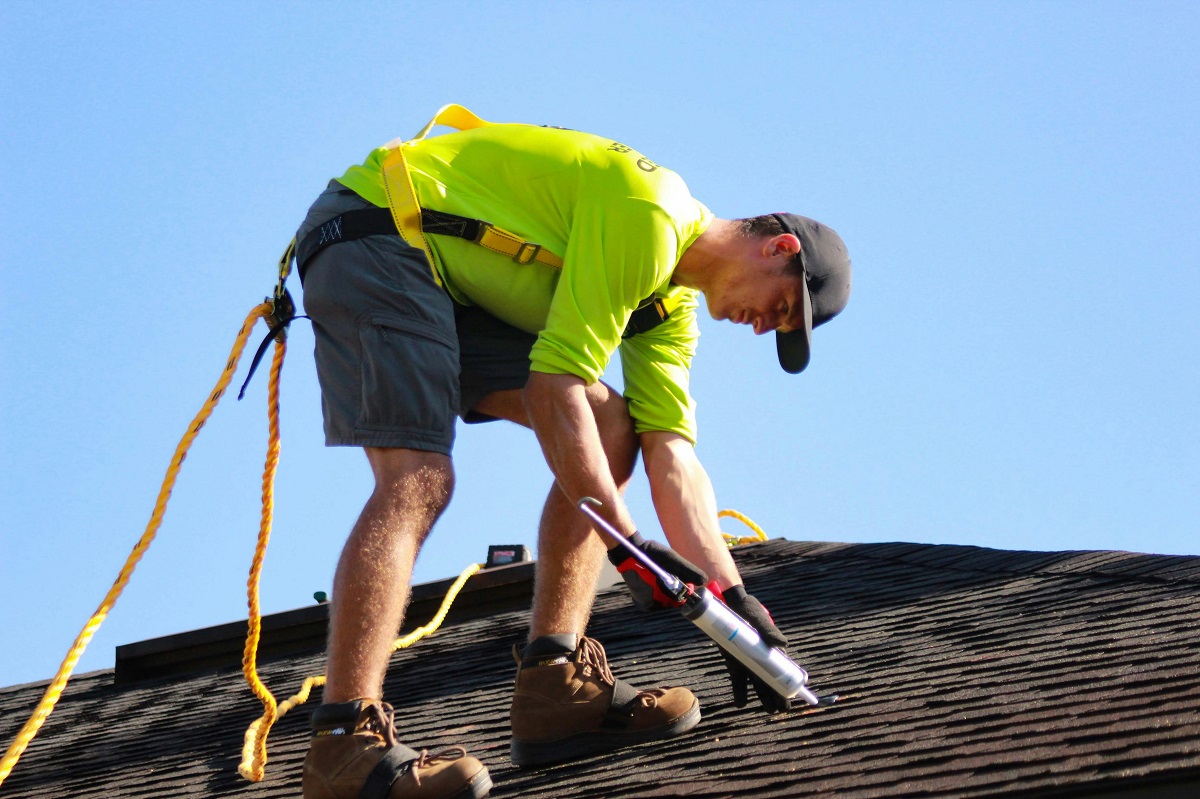
Prevention is boring compared to emergency repair, but it’s where real savings live. According to the Insurance Institute for Business & Home Safety, a sealed roof deck can cut water intrusion damage by as much as 95 percent. That’s the kind of upgrade worth asking about during your next re-roofing project. A sealed roof deck involves applying a self-adhering membrane or taping the seams between sheathing panels before the underlayment and shingles go on. The materials add only a few hundred dollars to a typical reroof, but they create a secondary water barrier that keeps your ceilings dry even if wind strips shingles off during a storm. If a full reroof isn’t in the near future, ask your contractor about targeted sealing in vulnerable zones like valleys, around chimneys, and along eaves.
Even without a major upgrade, routine inspections pay for themselves many times over. Avenue Roofing notes that consistent inspections can extend a roof’s working life by 15 to 20 years. Think of it like changing the oil in your car. Twenty minutes of attention twice a year beats a four-figure repair bill. Small issues caught early — a lifted shingle tab, a hairline crack in a boot, a nail that’s begun to back out — can usually be fixed with a dab of sealant or a single replacement shingle. Leave those same issues alone for two winters and you’re looking at rotted decking, soaked insulation, and drywall replacement in the rooms below.
Build a simple seasonal rhythm:
- Walk your property each spring and fall, binoculars in hand, scanning for curled shingles, missing granules, or displaced flashing
- Clean gutters at least twice a year so backed-up water doesn’t force its way under the eaves
- Trim overhanging branches that scrape shingles during wind and drop debris into valleys where it traps moisture
- Check attic insulation and ventilation to prevent ice dams in winter, and look for daylight, stains, or musty odors that hint at hidden moisture
- Inspect the sealant around vent pipes, skylights, and chimney flashing every year, since these joints fail long before the shingles do
- Schedule a professional inspection every three to five years, or immediately after major hail or wind events
Keep a simple roof journal, too. A note on your phone with the date of each inspection, photos of any suspect areas, and receipts from minor repairs gives you a running history that’s invaluable when you file an insurance claim or sell the house. It also helps you spot patterns — like the same flashing joint needing attention every other spring — that point to a deeper problem worth solving once and for all. Knowing what to do when your roof is leaking matters, but knowing how to stop the next roof leak before it starts is what actually keeps your home dry long term.
Signs It’s Time to Stop Patching and Start Replacing
Sometimes the kindest thing you can do for your wallet is admit the system is finished. Watch for shingles that curl at the edges across broad sections, bald spots where the protective granules have worn away, daylight visible through the roof deck, or repeat drips in the same spot despite multiple fixes. Other red flags include sagging rooflines that suggest structural damage underneath, dark streaks that won’t wash away, granules piling up in your gutters like coarse sand, and shingles that feel brittle or crack when you flex them. Asphalt shingles typically last 20 to 30 years, and once they hit that window, patch jobs become a losing game. You end up spending five hundred dollars here and eight hundred there, chasing leaks across a roof that’s quietly failing everywhere at once. Budgeting for a full replacement is painful, but it ends the cycle of midnight buckets for good. Get three written estimates, ask about warranty transferability if you might sell within a decade, and consider upgrading to architectural shingles or impact-rated materials if your region sees heavy hail — the modest price bump often pays back through lower insurance premiums and a longer service life.
Problem Six: Dealing With the Aftermath and Your Insurance Company
Once the water stops and the patches hold, a new phase begins. Wet drywall, soaked insulation, and damp framing create perfect conditions for mold within 24 to 48 hours. Pull down any sagging drywall, remove saturated insulation, and get air moving with fans and a dehumidifier. If you can rent a commercial-grade blower, do it. Attic insulation that got wet almost always needs to be replaced, not dried in place.
When you call your insurance carrier, have your photo and video documentation ready, along with receipts for tarps, lumber, and any emergency contractor work. Describe the event factually. Mention when you discovered the problem, what steps you took to mitigate further damage, and what visible damage remains. Adjusters appreciate homeowners who acted quickly to limit losses, and most policies specifically require you to take reasonable mitigation steps.
A few habits that make claims go smoothly:
- Keep a running home maintenance log with inspection dates and photos
- Save receipts for every repair, even small ones
- Store policy documents and your agent’s contact info somewhere accessible from your phone
- Photograph the interior of each room annually so you have a baseline
Final Thoughts
Water finding its way into your home is stressful, but it’s also one of the few home emergencies where quick, calm action genuinely changes the outcome. The homeowners who fare best aren’t the ones with the fanciest tools or the deepest construction knowledge. They’re the ones who move fast on containment, document everything, and know when to hand the problem to someone with more experience and better equipment.
Keep a small emergency kit tucked in your garage with a tarp, a few two-by-fours, roofing cement, and a flashlight dedicated to attic duty. Walk your property each season. Pay attention to small stains before they become big ones. These unglamorous habits are what keep a bad night from turning into a bad year.
And when the next storm rolls through, you’ll know exactly what to grab, where to look, and which problems you can handle yourself versus which ones deserve a professional call. That confidence is worth more than any single repair, because it turns a frightening situation into a manageable one.